| HIFI-FORUM » Do it yourself » Lautsprecher » Projekte der Nutzer / Nachbauten » Canadian Twiggy Build (English) | |
|
|
||||
Canadian Twiggy Build (English)+A -A |
||
| Autor |
| |
|
DaveFred
Ist häufiger hier |
#1
erstellt: 11. Aug 2019, 05:58

|
|
|
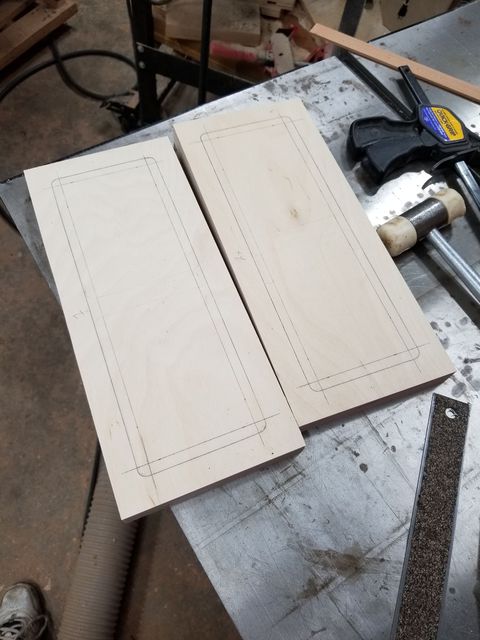
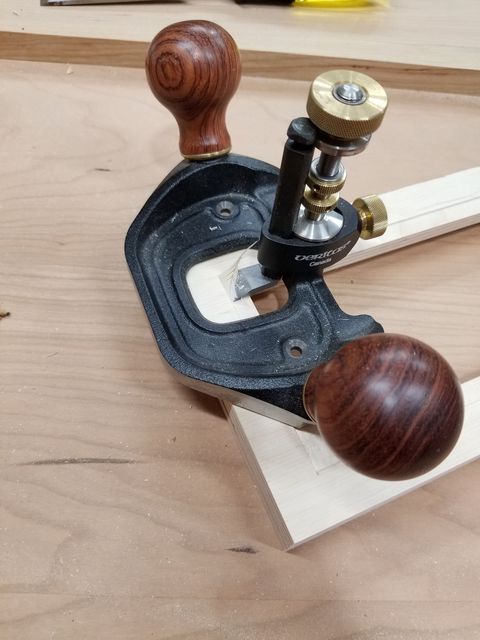
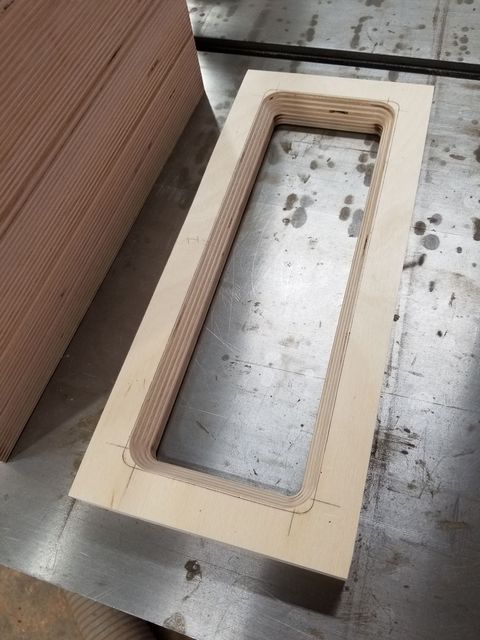
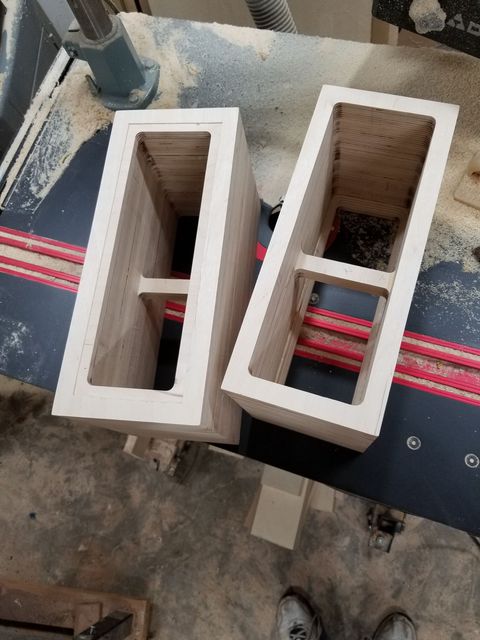
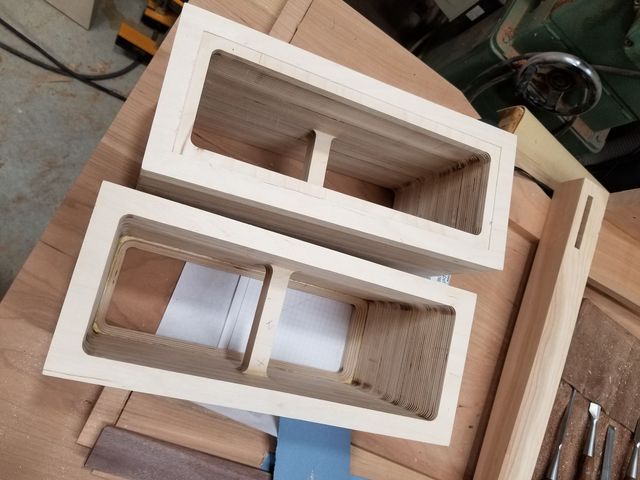
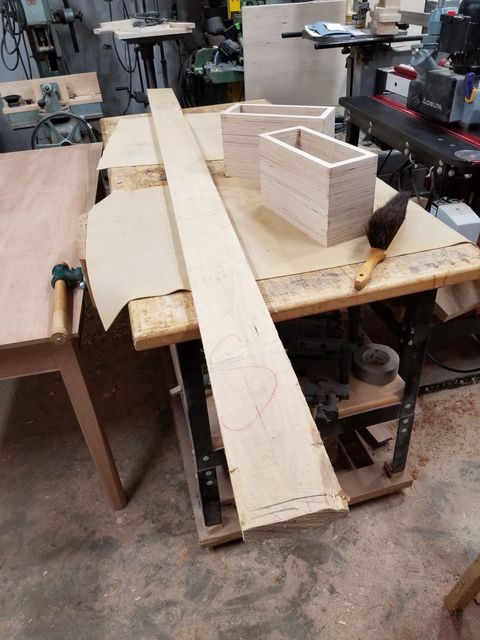
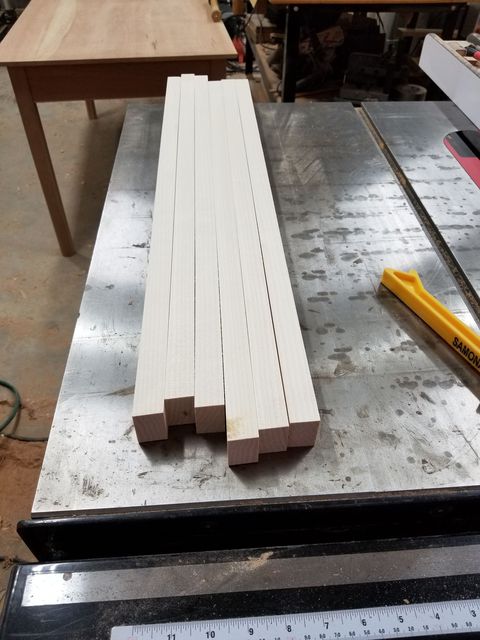
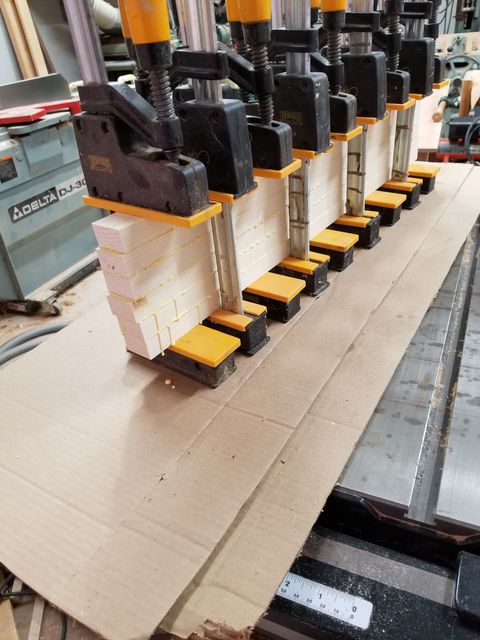
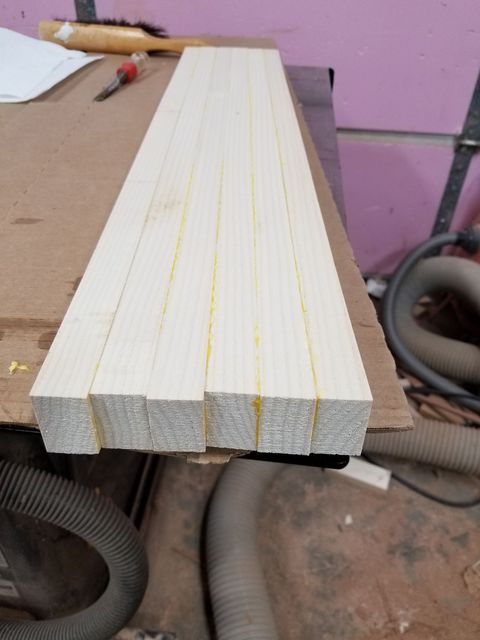
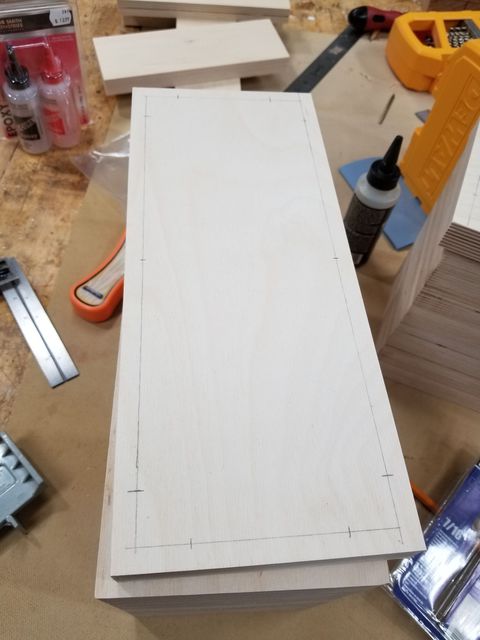
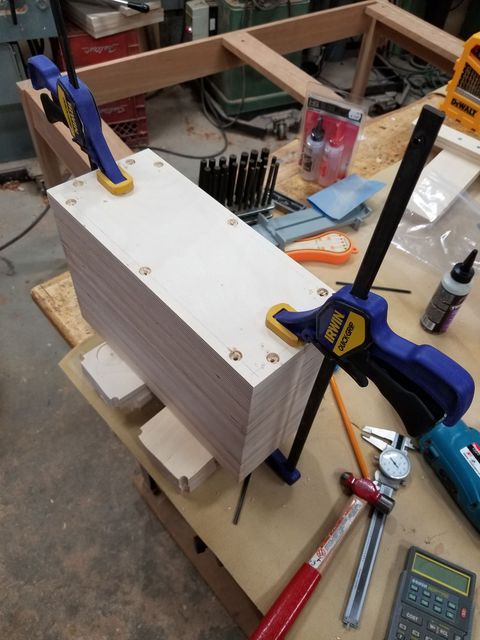
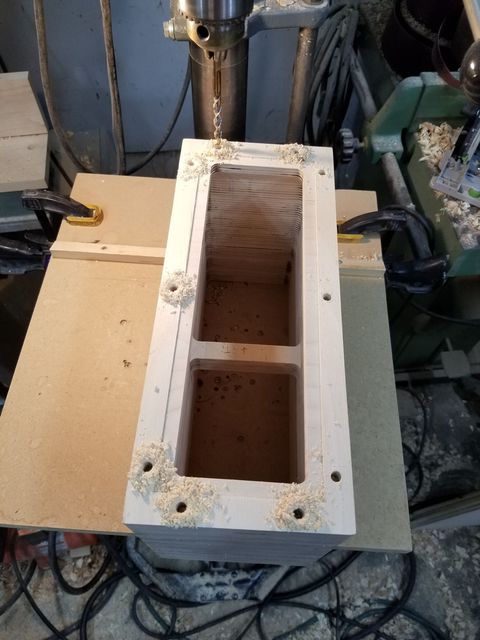
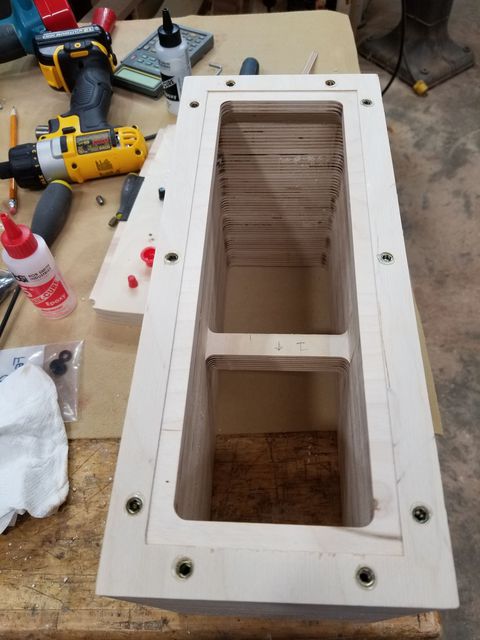
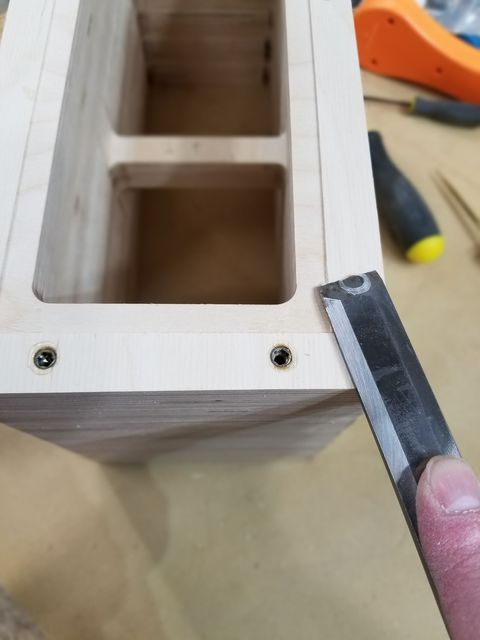
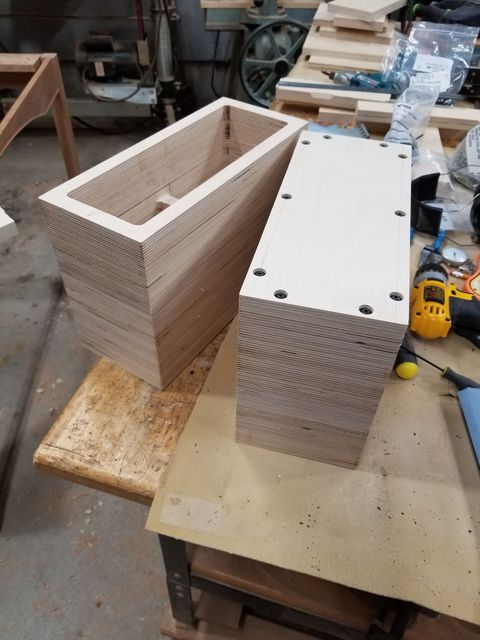
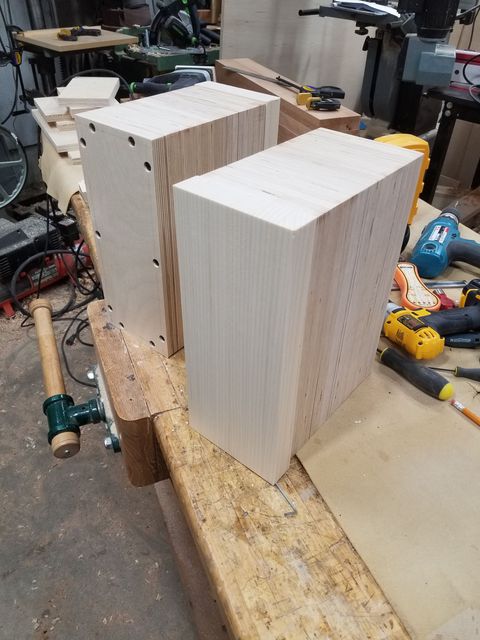
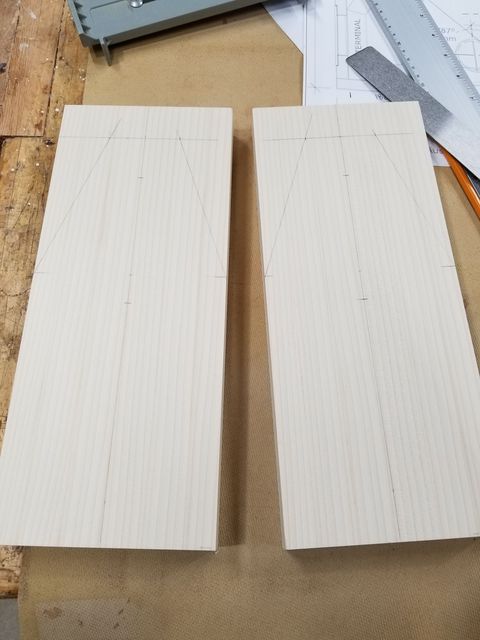
I hope the admins and users of this board to not object to me posting in English as I do not know German, but I would like to post my version of Twiggy here for other users to see. There will be lots of pictures (if that is okay) so I won't need to write much. My goal was build a nice small two way speaker as a gift for a friend without spending a lot of money or having to start from scratch. I looked at many designs and luckily came across this one referenced on diyaudio.com . I read a couple of build threads and looked at Thorsten Felbinger write up and decided this is what I was going to build. The main body of the box will be built out of layered 24mm Baltic Birch Plywood. I started on it today and here was my progress, Ply sheet cut into blanks,  Layout for middle layer with brace, walls will be 16mm and the box will be a little taller than the drawing to add in the correct volume,  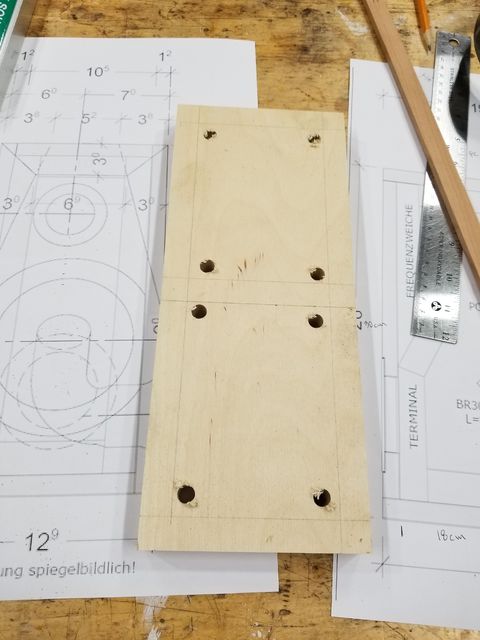 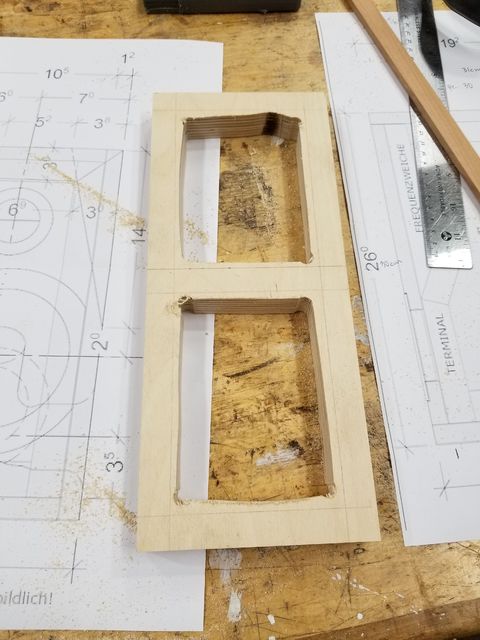 I am using a 23g pinner to attach 16mm wide guide strips to the middle blank for the flush trim bit to follow, 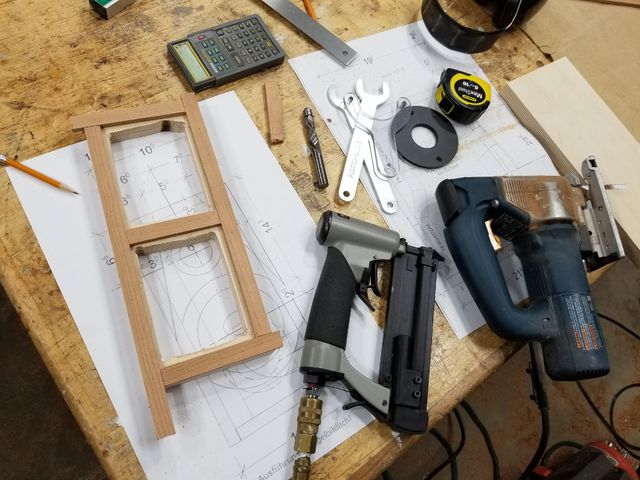 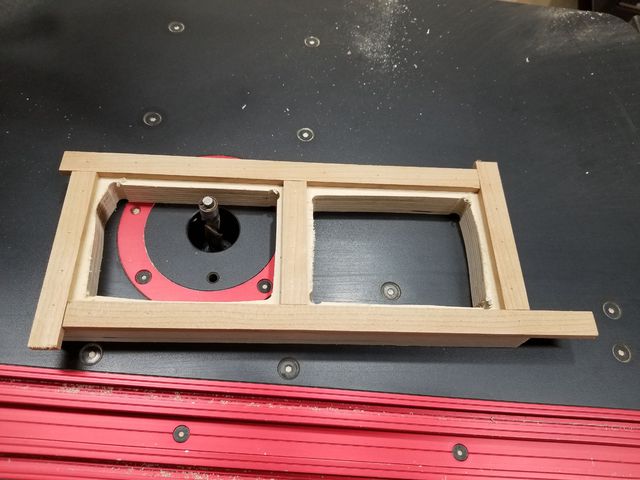 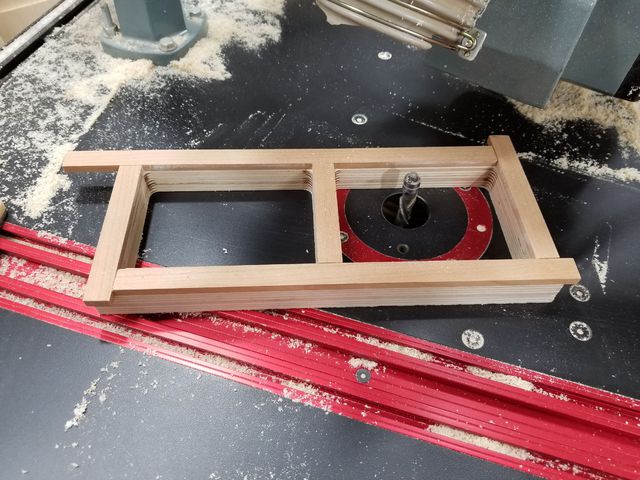 The guide strips pull off very easy and the 23g pins are also very easy to remove, 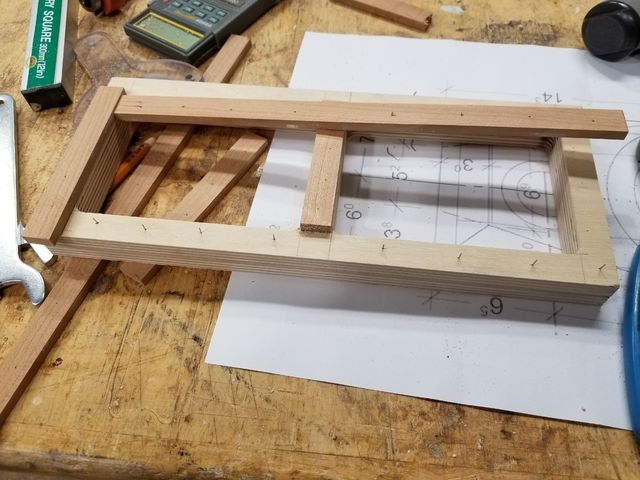 Gluing on first layer, 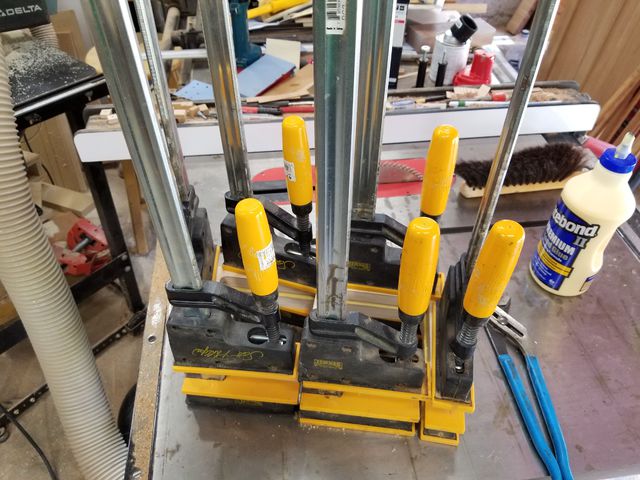 And trimming it, notice there are some "bits" left because the brace is in the way of the flush trim bit,  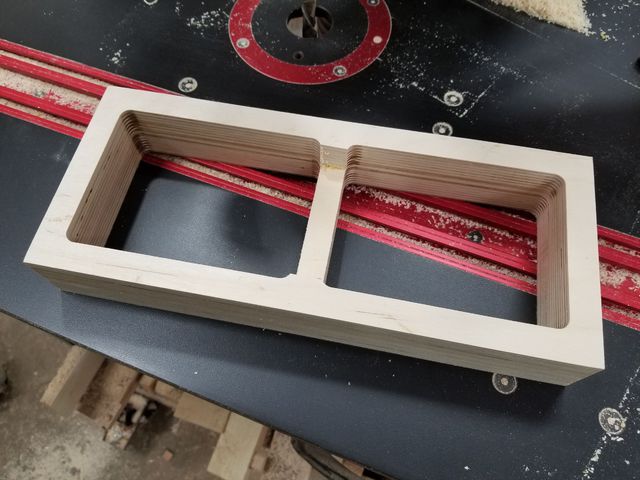 After the second layer was glued and trimmed, I went back, added some more strips and used a pattern router bit to trim off the nubs, 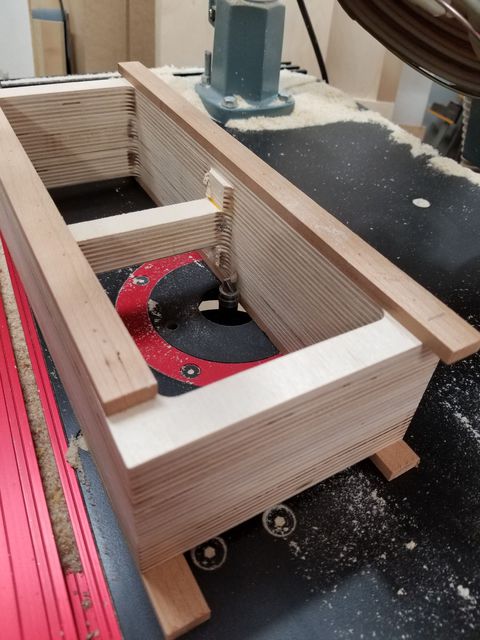 As the shampoo bottle says, rinse and repeat, 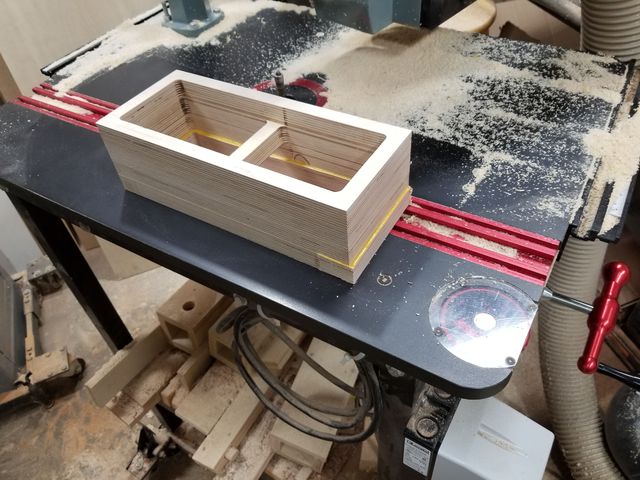 Four layers on two boxes done today, not a bad start...  David. |
||
|
Sathim
Inventar |
#2
erstellt: 11. Aug 2019, 21:32
|
|
|
Looks like you like wood dust  From the craftmanship I can see here at the moment, these will become a very handsome pair of speakers! Can't wait to see the finished pair! |
||
|
|
||
|
TH_F73
Hat sich gelöscht |
#3
erstellt: 12. Aug 2019, 11:14
|
|
|
Super nice work so far ! I will definitely stay tuned here ! All the best, Thorsten [Beitrag von TH_F73 am 12. Aug 2019, 11:14 bearbeitet] |
||
|
Steven_Mc_Towelie
Inventar |
#4
erstellt: 12. Aug 2019, 12:39
|
|
|
Nice work so far, i love man glitter too |
||
|
herr_der_ringe
Inventar |
#5
erstellt: 12. Aug 2019, 22:19
|
|
|
I'm flattered that the "twiggy" will be rebuilt in canada  |
||
|
Peas
Hat sich gelöscht |
#6
erstellt: 13. Aug 2019, 23:21
|
|
|
Great job, mate! Keep going  |
||
|
DaveFred
Ist häufiger hier |
#7
erstellt: 14. Aug 2019, 05:34
|
|
|
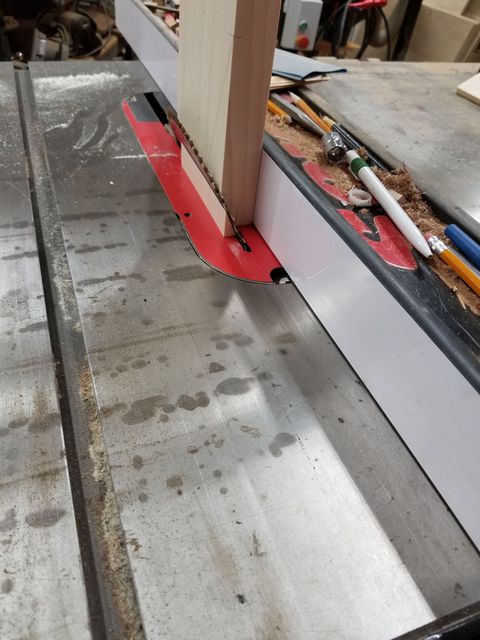
Do you think this is to sharp a bend for the pipe? 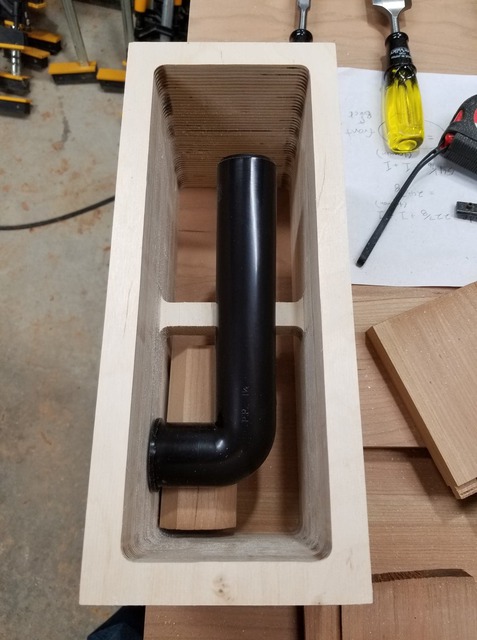 The pipe is 34mm ID and 38mm OD. David. |
||
|
herr_der_ringe
Inventar |
#8
erstellt: 14. Aug 2019, 08:52
|
|
|
I've used that one. |
||
|
DaveFred
Ist häufiger hier |
#9
erstellt: 25. Aug 2019, 22:13
|
|
|
Can you help me with the translation of "Dämmflilz"? Would it be heavy felt? |
||
|
herr_der_ringe
Inventar |
#10
erstellt: 25. Aug 2019, 22:54
|
|
|
hi dave, thorsten used a similar felt like that one.you can also use synthetic damping material like polyeser fleece. if you have the posibility to use a high density polyester insulation fleece, use that one.  |
||
|
DaveFred
Ist häufiger hier |
#11
erstellt: 25. Aug 2019, 23:38
|
|
|
Over here in the British Colonies it is common to use recycled denim insulation like this,https://www.homedepo...0306-16482/202710055I was going to use that behind the woofer (back), top, bottom and heavy felt on the sides David. |
||
|
herr_der_ringe
Inventar |
#12
erstellt: 24. Okt 2019, 14:35
|
|
|
hi dave, what is the current status, did you finished? |
||
|
DaveFred
Ist häufiger hier |
#13
erstellt: 25. Okt 2019, 01:09
|
|
                     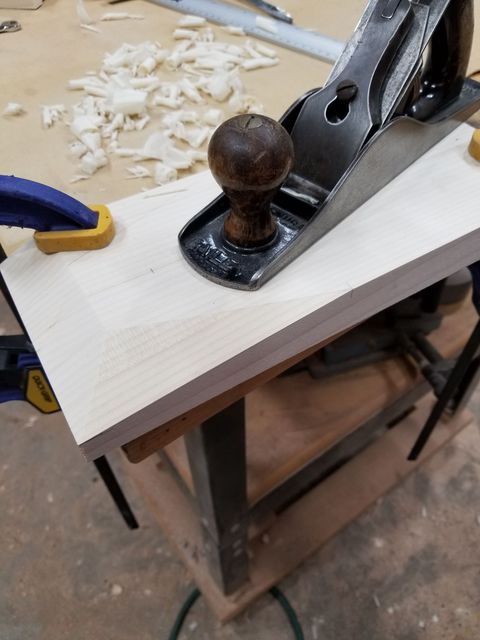  Since I don't speak German, I will let the pictures speak. Front is Poplar. Backs are removable and have made a rebate for a gasket. Threaded inserts are epoxied in. I can answer any questions if anyone has any. David. |
||
|
herr_der_ringe
Inventar |
#14
erstellt: 25. Okt 2019, 07:26
|
|
|
great work |
||
|
Peas
Hat sich gelöscht |
#15
erstellt: 25. Okt 2019, 09:34
|
|
|
A solid-wood masterpiece |
||
|
DaveFred
Ist häufiger hier |
#16
erstellt: 04. Nov 2019, 07:31
|
|
|
Update, I was waiting for some forstner bits to arrive, specifically a 42mm, which is the OD of a 1.25" (32mm) drain pipe. All holes were drilled with forstner bits. - Counterbore for tweeter recess 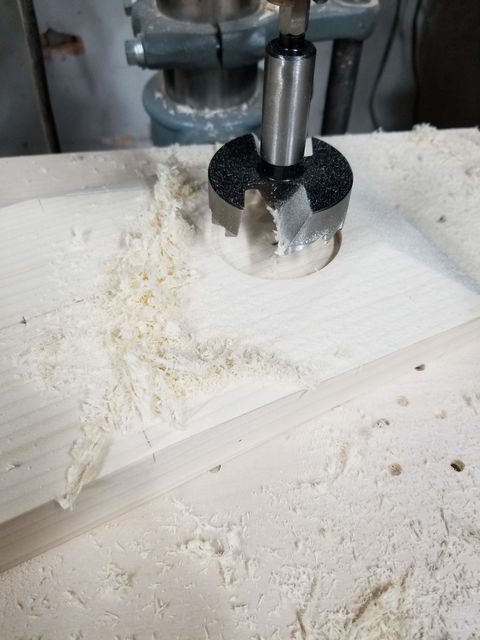 - Through bore for tweeter 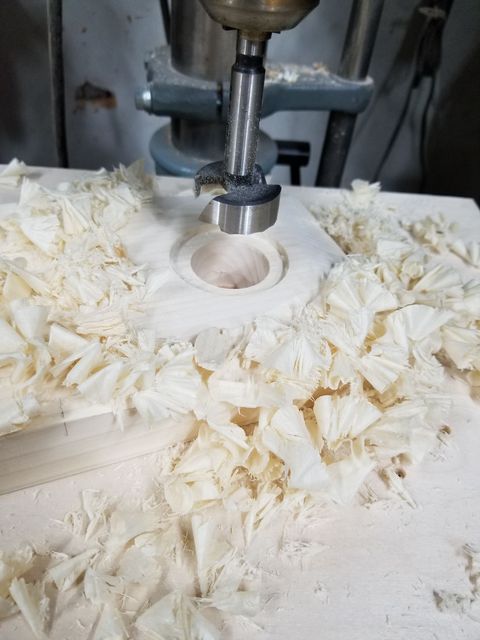 - Through bore for woofer  - Hole in back of baffle to receive port tube  - Through pilot bore for port 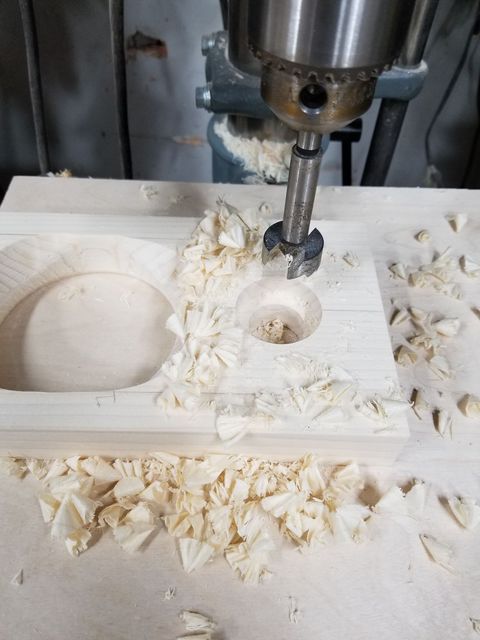 Port was made flush to pipe with solid carbide upspiral flush trim bit, then rounded over with 3/8" roundover. 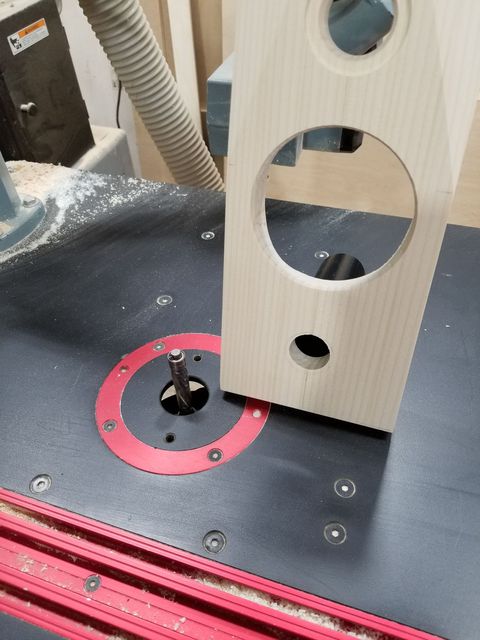 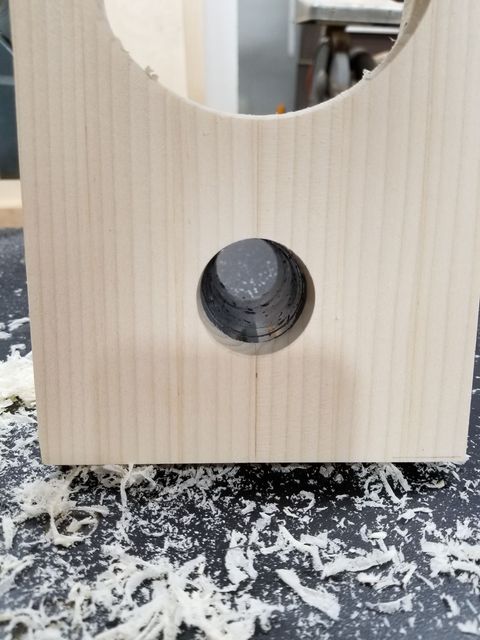  You can sort of see in the pictures the tweeter and woofer holes are slightly bevelled on the front to allow for a smaller through hole, but yet allow the drivers to "seat" properly. This was to allow for as small a hole as possible for the drivers so there will be lots of material for the screws to hold the drivers in. On the backside of the baffle (hard to see in the pics), the woofer opening is bevelled to allow the woofer to breath properly. Thanks for looking, David |
||
|
Peas
Hat sich gelöscht |
#17
erstellt: 04. Nov 2019, 09:38
|
|
|
Unrivalled accuracy and care. Thanks a lot for sharing. I really enjoy. Can't wait to see the finished speakers. |
||
|
DaveFred
Ist häufiger hier |
#18
erstellt: 18. Nov 2019, 08:17
|
|
|
The baffles have been glued on. I placed them upside down so any glue would not run onto and soak into the plywood. 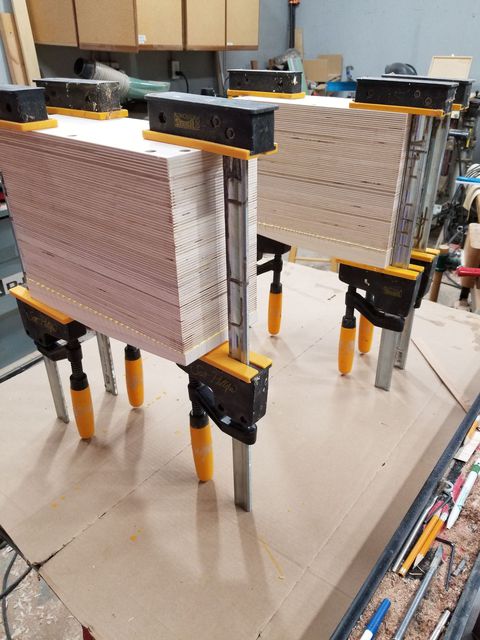 The baffles were slightly bigger than the boxes and were flush trimmed. 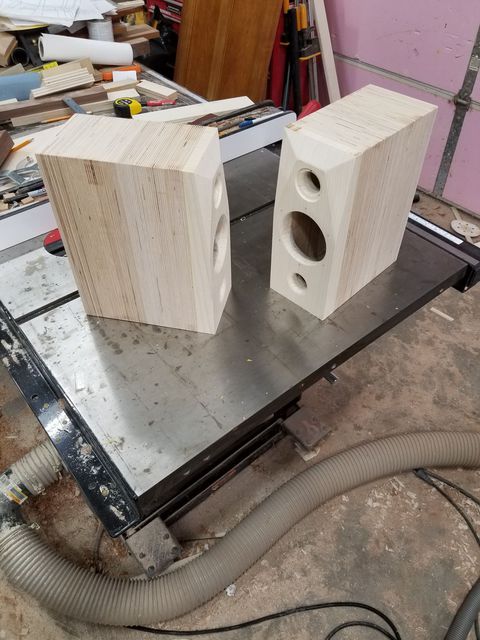 I made a jig that the box sat in so I could use a core box bit and make a recess for the terminals so they didn't stick out so much and were harder to break off. 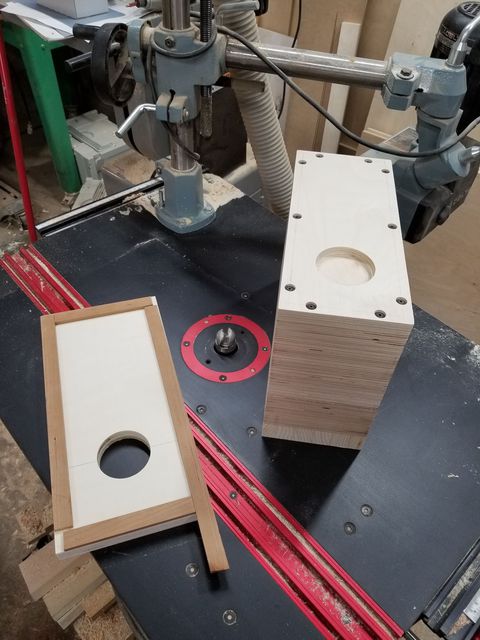 Boxes are now 95% sanded and I am waiting for some black filler to dry in a couple of places knots were in the plywood before final sanding and finishing. 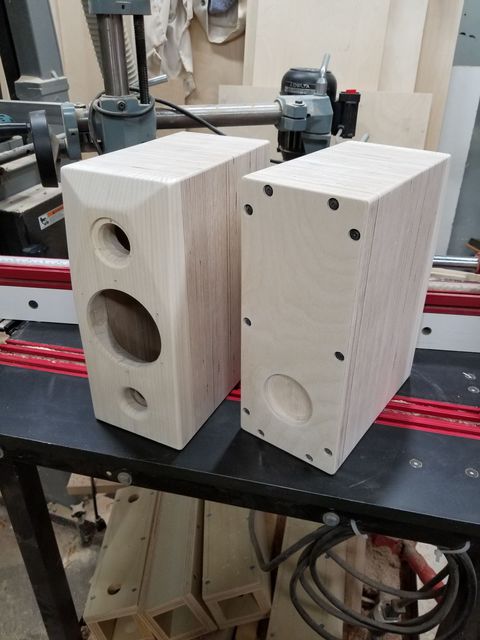 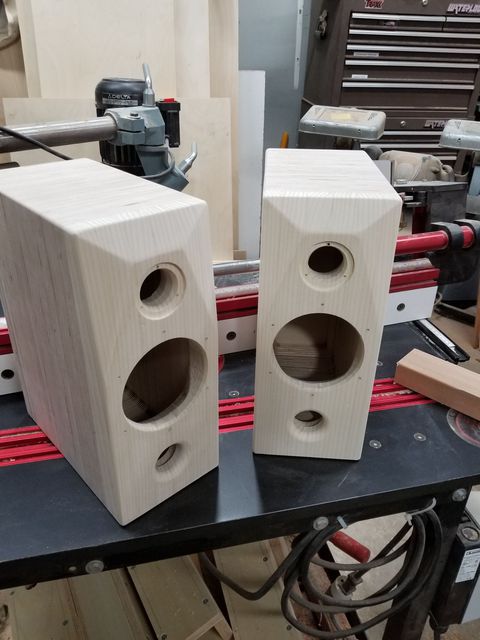 |
||
|
herr_der_ringe
Inventar |
#19
erstellt: 18. Nov 2019, 23:02
|
|
|
im speechles if you build this or similar speaker again I'm having a little tip: I first milled the chassis (with a router), then the baffle was glued on the housing. the chamfers I had attached at the last step. |
||
|
ennokin
Stammgast |
#20
erstellt: 19. Nov 2019, 15:42
|
|
|
Really nice woodworking [Beitrag von ennokin am 19. Nov 2019, 15:43 bearbeitet] |
||
|
Peas
Hat sich gelöscht |
#21
erstellt: 19. Nov 2019, 15:47
|
|
|
Even more exciting! |
||
|
bizarre
Inventar |
#22
erstellt: 20. Nov 2019, 01:58
|
|
|
The baffles with the uniform grain from the quarter-sawn poplar are simply "out-of-this-world"... In Europe,poplar is only available as ( low-grade) plywood  My personal "icing on the cake" would be a flange on the inner end of the reflex tube - OD ~ 80mm, similar shape as the opening in the baffle... Will reduce K2 distortion of the BR tube significantly.... Cheers, Manfred |
||
|
DaveFred
Ist häufiger hier |
#23
erstellt: 20. Nov 2019, 02:05
|
|
Thank you for noticing that detail. As you can see in the photos, I started with plain sawn poplar, cut it up and reassembled it as quarter-sawn. That is a detail I would only expect a hard core "wood" person to notice. Aside from the "looks" it offers a more stable construction with less "movement". I will see if there is room for the inner "flare" on the BR pipe and will add it if space permits. Thank you, David in Canada. |
||
|
DaveFred
Ist häufiger hier |
#24
erstellt: 20. Nov 2019, 08:39
|
|
|
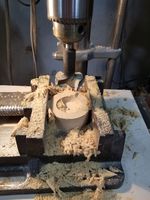
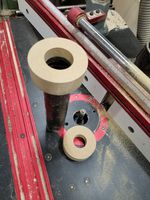
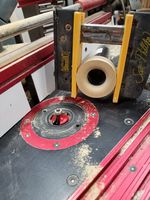
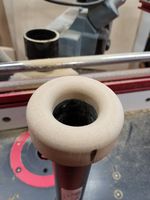
I decided to make some port flares for inside the cabinet tonight to fit 1-1/4" ID ABS pipe. - Used a circle cutter jig to cut 2-3/4" circles out of 1" MDF. - Circle jig pilot hole was through drilled 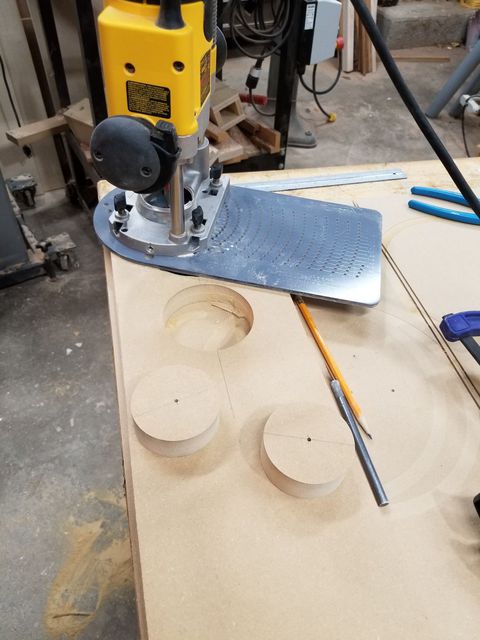 - Drilled 3/8" deep hole with 42mm forstner bit for OD of 1-1/4" pipe  - Drilled 3/4" hole for flush trim bit half way through remaining thickness, flipped circle and drilled the other side through. This prevents blow out and why I piloted the 1/8" circle jig hole all the way through 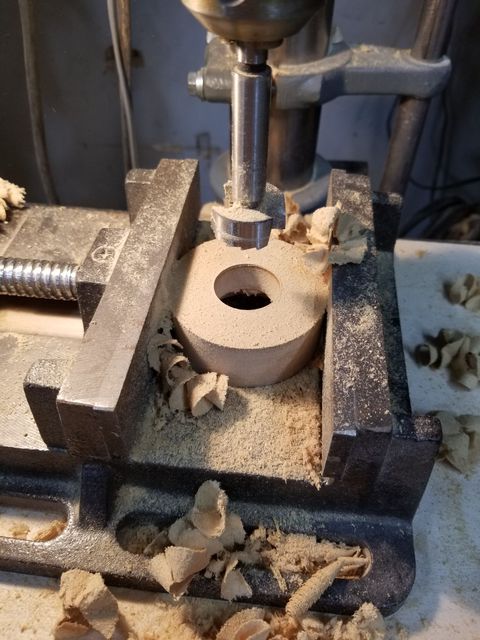 - Inserted 1-1/4" ID pipe into circle and flush trimmed the inside. 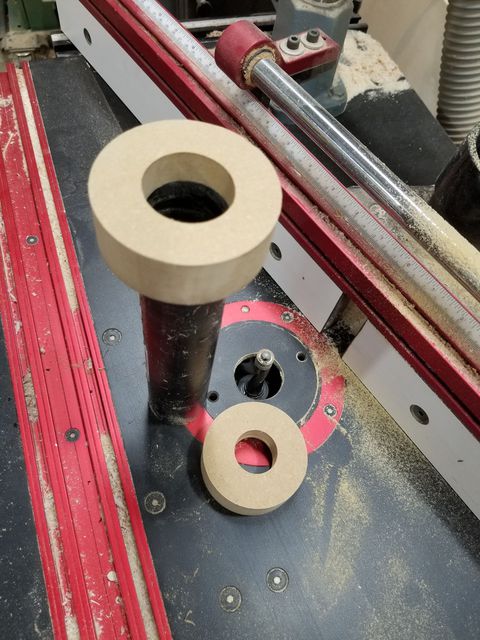 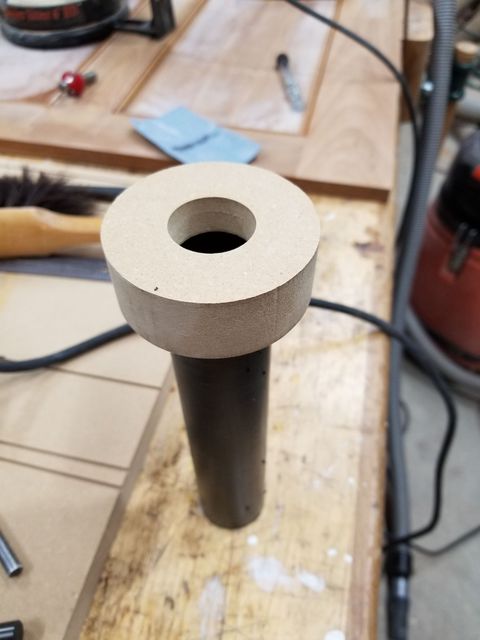 - Rounded over the inside and outside with a 3/8" roundover for a nice internal port flare.    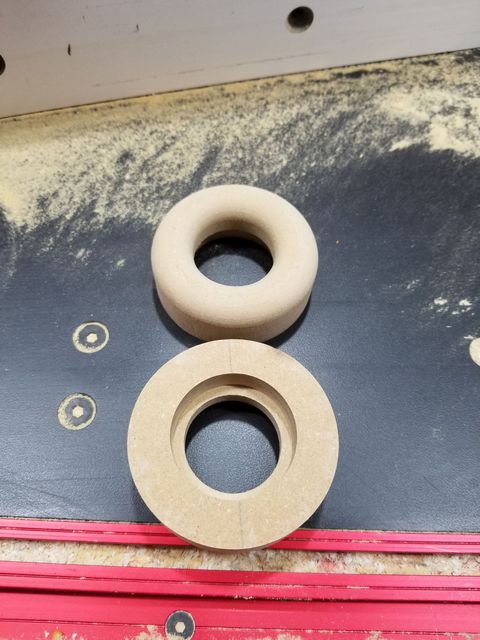 Obviously same method can be used for bigger port tubes and larger round overs can be used. [Beitrag von DaveFred am 20. Nov 2019, 08:41 bearbeitet] |
||
|
herr_der_ringe
Inventar |
#25
erstellt: 20. Nov 2019, 09:56
|
|
also possible: click me and scroll down till " Flanging straight vents made from ABS plastic" |
||
|
DaveFred
Ist häufiger hier |
#26
erstellt: 25. Mrz 2020, 15:19
|
|
|
It has been a while since I posted an update as I have been busy with other projects. I found a couple of hours last night and I assembled the Twiggy crossovers. 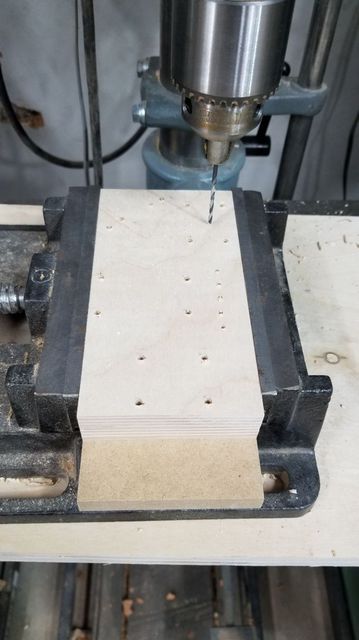 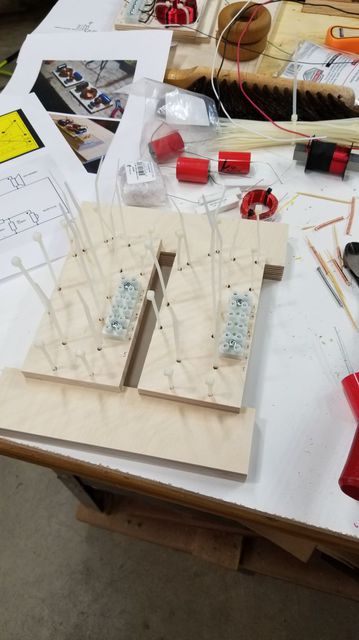 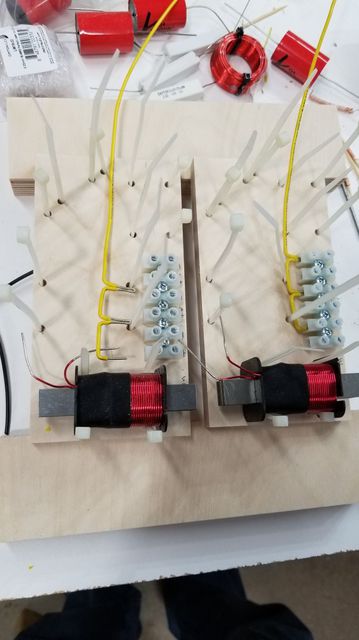 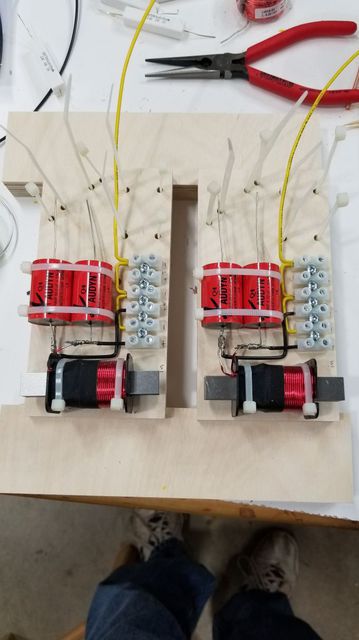 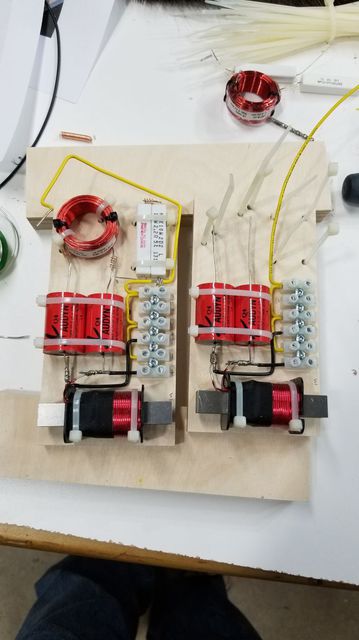 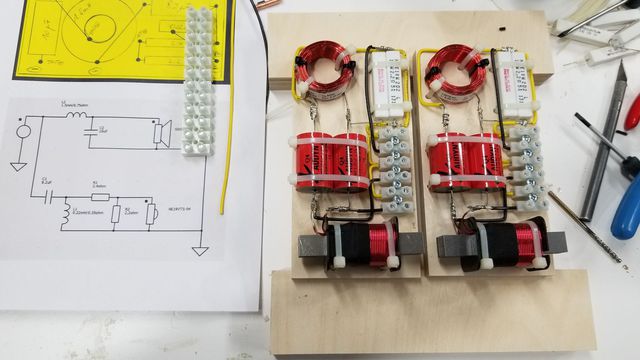 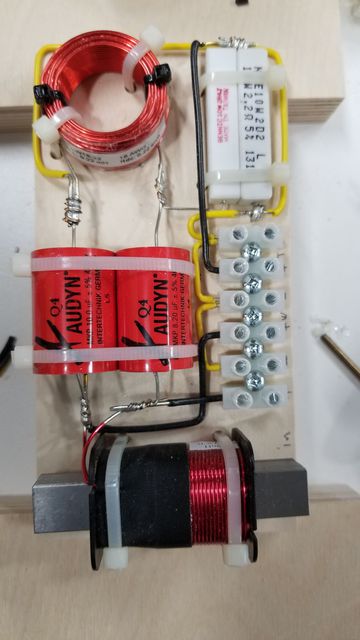 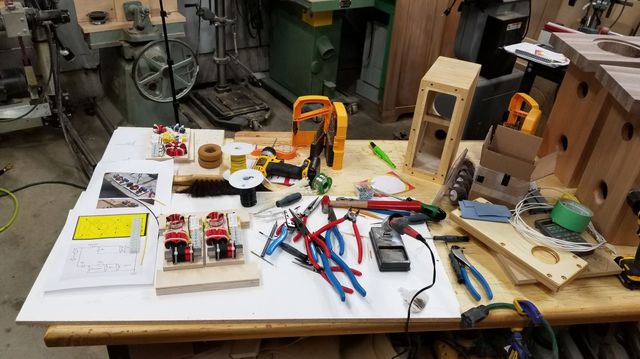 |
||
|
taube_nuss
Ist häufiger hier |
#27
erstellt: 25. Apr 2020, 18:13
|
|
|
Hello DaveFred, that's really amazing woodwork! And your other project look nice too (last picture). keep on posting and stay healthy! |
||
| ||


|
|
||||
| Das könnte Dich auch interessieren: |
|
Building Twiggy Questions. DaveFred am 04.08.2019 – Letzte Antwort am 11.08.2019 – 4 Beiträge |
|
Baubericht Twiggy TheTioz90 am 07.11.2018 – Letzte Antwort am 18.12.2020 – 21 Beiträge |
|
Nachbau "Twiggy" MarsianC# am 26.12.2019 – Letzte Antwort am 13.06.2022 – 10 Beiträge |
|
Noch ein Baubericht Twiggy Omegendorph am 02.05.2019 – Letzte Antwort am 19.06.2022 – 25 Beiträge |
|
Projekt Fullrange PA Box (Breitbänder) Pommespanzer am 21.11.2007 – Letzte Antwort am 01.02.2008 – 14 Beiträge |
|
Project idea for Visaton Open Baffle Dipole 3 way. DaveFred am 17.07.2019 – Letzte Antwort am 13.08.2019 – 6 Beiträge |
Anzeige
Produkte in diesem Thread

Aktuelle Aktion


Partner


Top 10 Threads der letzten 7 Tage
- Hotel Modus deaktivieren
- "diese anwendung wird jetzt neu gestartet um mehr speicherplatz verfügbar zu machen"
- Von HD+ zurück zu Standard-TV
- Remotekabel anschließen, aber wie und wo?
- Hisense verbindet sich nicht mehr mit dem WLAN
- Audiodeskription ausschalten (in ZDF App) 803er
- Umschalten von TV auf Radio
- Satellitenschüssel was und wie einstellen am TV
- Pro 7 und Sat 1 auf einmal weg.
- Markierung an Lautsprecherkabel - welche Norm?
Top 10 Threads der letzten 50 Tage
- Hotel Modus deaktivieren
- "diese anwendung wird jetzt neu gestartet um mehr speicherplatz verfügbar zu machen"
- Von HD+ zurück zu Standard-TV
- Remotekabel anschließen, aber wie und wo?
- Hisense verbindet sich nicht mehr mit dem WLAN
- Audiodeskription ausschalten (in ZDF App) 803er
- Umschalten von TV auf Radio
- Satellitenschüssel was und wie einstellen am TV
- Pro 7 und Sat 1 auf einmal weg.
- Markierung an Lautsprecherkabel - welche Norm?
Top 10 Suchanfragen
Forumsstatistik
- Registrierte Mitglieder931.200 ( Heute: 3 )
- Neuestes MitgliedFrancois_Villon
- Gesamtzahl an Themen1.564.946
- Gesamtzahl an Beiträgen21.872.926
